Fluke 831 Laser Shaft Alignment
It’s a known fact—all rotating machinery is susceptible to misalignment. Machines that are well aligned at the commissioning stage and regularly maintained will have reduced wear in couplings, bearings, and seals, all of which means reduced plant operating and maintenance costs. Precision shaft alignment contributes to energy savings and a cleaner environment. It protects assets, extends machine availability, and increases product quality, reducing vibration to a minimal level. Are you still using dial indicators and straightedges to ensure your shaft-driven machines are correctly aligned? If so, you could be losing thousands of dollars per year in replacement bearing and coupling costs, hours of unnecessary repair time, and crippling unplanned downtime, not to mention taking years off your machine’s useful life. Due to its rugged sensALIGN® 3 sensor and reflector, the Fluke 831 Laser Shaft Alignment tool can handle almost any mainstream machine alignment challenge. With its problem-solving Adaptive Alignment features, the 831 offers you an unbeatable price-performance ratio.
Precision shaft alignment in four simple steps with the Fluke 831
- Mount the brackets on either side of the coupling. The reflector should be mounted onto the machine to be moved
(motor) while the sensor unit is mounted on the stationary (driven) component.
• Turn on the 831, select Horizontal Alignment, the guided screen will walk the user through entering the dimensions. - Take the 1st measurement, rotate the shaft, and receive instant measurement verification, then the 2nd, then the 3rd.
- Make corrections while observing the 831 screens:
• Correct vertical misalignment by shimming moveable machine based on numbers on screen.
• Correct horizontal misalignment by moving moveable machine horizontally with jacking bolts while observing live mode. - Re-measure to confirm the alignment results. Then print a report, As Found & As Left, to document the job.
Fluke tools help keep your plant up and running
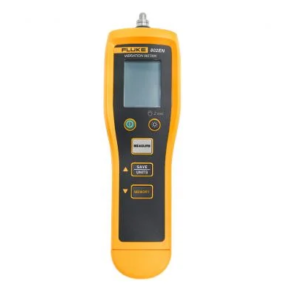
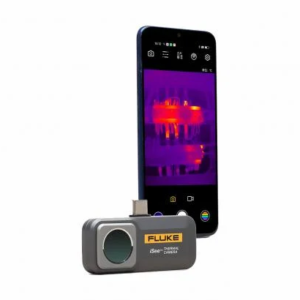
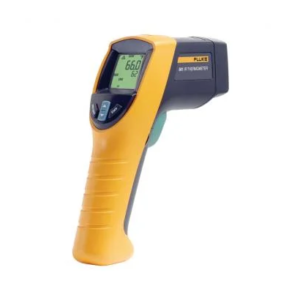
Fluke offers a complete line of predictive maintenance tools designed to help maximize plant uptime. Whether you’re using a Fluke vibration tester to diagnose fault and severity, or a Fluke thermal imager to evaluate machine health, our tools help you reduce production gaps and lower maintenance repair costs.
Here’s how Fluke tools work together to solve problems: A vibration meter or thermal imager will find a malfunctioning machine, and a vibration tester diagnoses the issue. Fluke shaft alignment tools like the Fluke 831 correct shaft misalignment, and the Fluke 835 addresses belt misalignment. Finally, the vibration meter or thermal imager will determine for you if the machine gets a clean bill of health.

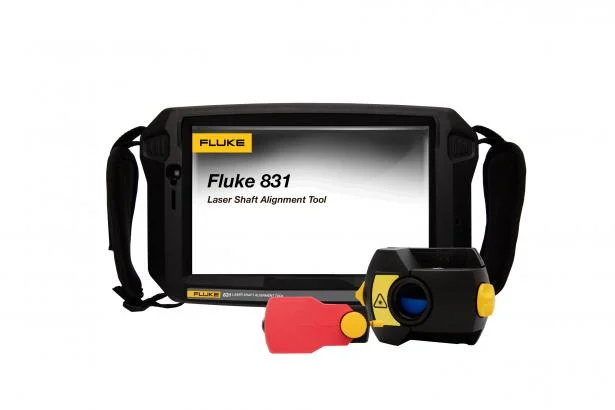
 fluke-831-laser-shaft-alignment-tool-datasheet
